UPDATE October 30th, 2014: Hello everyone. I have great news. As of a while back this tutorial is no longer necessary because Bing smartened up and now allows us Canucks to add our business and administrate the listing at BingPlaces.com. The process is very straight forward but if you do have questions please post them in the comments. If I see enough demand I will rewrite this into a tutorial for the Bing Places setup.
Also, if you represent a small business and have any interest in receiving answers to web marketing questions you might find MarketingHigh.com worthwhile looking at. You can ask UNLIMITED web marketing questions of myself and my veteran team of web marketers for the price of a fancy coffee per month. Why us? I have been web marketing successfully since 1997, my Senior SEO has 12 years of experience and we are both 100% white hat (that means ethical) web marketers; we will not give you advice that could hurt your business. For more info check out MarketingHigh.com and please pass the word to other small business owners who could use a helping hand navigating the world of web marketing. This is a mind-blowing steal considering what most consulting costs in this industry.
Cheers, Ross Dunn

Ask unlimited web marketing questions of experts for $49/year.
——- Here is the original article on the old method of Bing setup for Canadians ——-
Rejoice fellow Canadians! After years of crying foul and bugging Bing engineers at search engine conferences I can finally say that Canadian business owners can submit their business to Bing Canada for free instead of relying on YellowPages listings; which were an unreliable solution at best. What follows is a little more detail on the subject and a full walkthrough of the submission process and end result. Also, if you wish to see just how much anger and frustration the previous system created please see my article “Bing’s Local Listing Center Lacks Forethought” posted in 2009: yes 4 years ago, so you can count me frustrated (politely put) with them as well.
What Made Bing Get its Sh*t Together?
Sadly it seems we have no need to thank Bing engineers (or my significant prodding) for this advance in Canuck accessibility because it was Nokia who bridged the chasm. Nokia increased its already significant maps partnership with Microsoft to allow their Nokia Maps system to update Bing’s Canadian Local data. This all started, it seems, back in January 2012 but I can’t find any indication this bromance between the two companies included Canadian business submissions that early in the game. Anyway, if you go to Bing and try to submit your business you will now be redirected to Nokia Prime Place where you can follow their submission and address verification process which I have outlined in detail further along in this post.
Interesting Sidenote: I have yet to find any article that directly announced the new access for Canadian businesses to submit to Bing Local. Odd isn’t it? So far the best examples of weak fanfare was this article announcing enhanced maps for many countries including Canada and this recent article by Greg Sterling rightfully discussing the confused air surrounding Bing’s Business Portal and Nokia Prime Place; however, neither had any connection to our new easy access to local Bingdom. I guess I shouldn’t be surprised.
Submitting to Nokia Gets You Much More than Just Bing Local!
By submitting your business to Nokia Prime Place you are not only ensuring your business will be entered into Bing’s local listings but primarily Nokia Maps which happens to feed all NavTeq controlled systems; an excellent mapping company acquired 4 years ago by Nokia. As a result, you have access to the in-dash systems of automotive manufacturers like BMW, Honda, Ford and Volkswagon. In addition, Yahoo!, Flickr, Amazon and Oracle use their systems. As if this isn’t enough, Nokia has created HERE.com which has free apps for iOS and all windows phones. It also works on any mobile browser quite effortlessly. Talking about bang for your time!
The Process of Submitting a Canadian Business to Bing Local Canada via Nokia Prime Place: In Detail
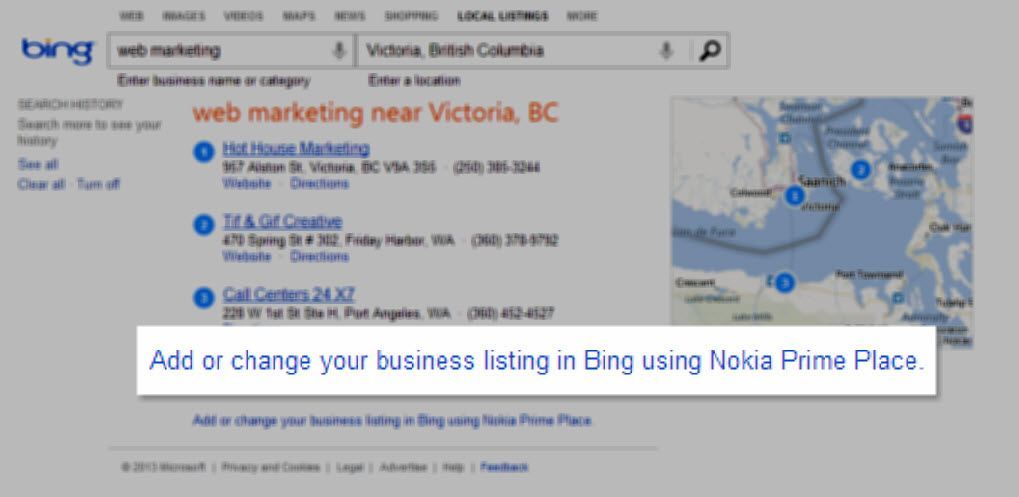
Step 1: Visit Bing.com/local and you will be greeted, front and center, with a link stating: “Add or change your business listing in Bing using Nokia Prime Place.”
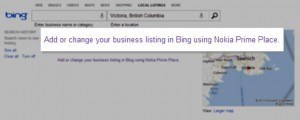
Additionally if you conduct a local search within Bing you will find the necessary link right below all of the local results.
Step 2: Once you are taken to PrimePlace.Nokia.com you can enter your business name and address information (click any of the following images for a larger version)

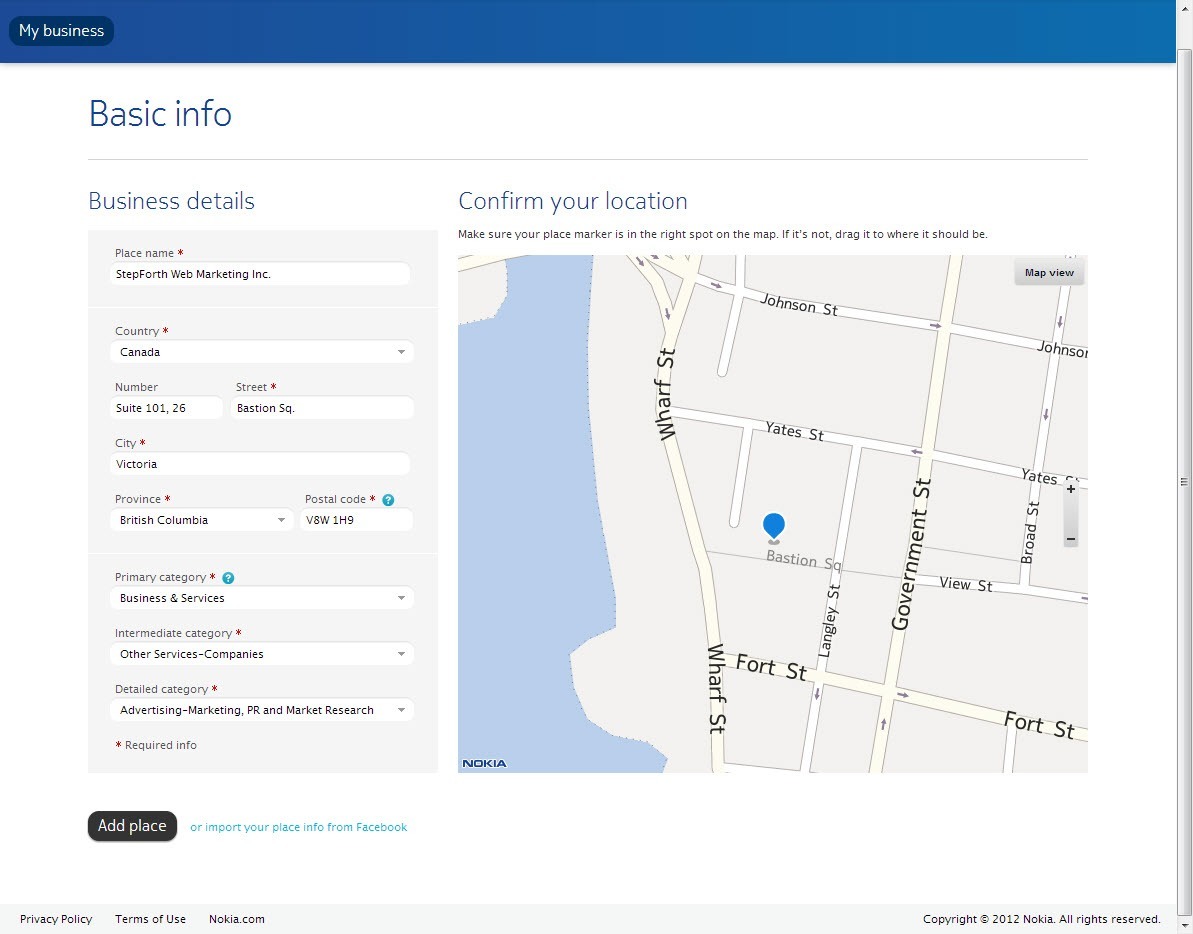
Step 3: Fill in the Basic Info required to submit your company. Be VERY careful to use the exact syntax for your NAP (name, address and phone number) that you use across the web. This is an important element of local ranking algorithms because if your address looks different elsewhere it could effect the perceived legitimacy of your listing. You can also drag the marker shown on the map to more accurately pin-point your location. Tip! If you find it too hard to spot your location it is easy just to turn on satellite view using the small “Map view” button in the top-right of the image.
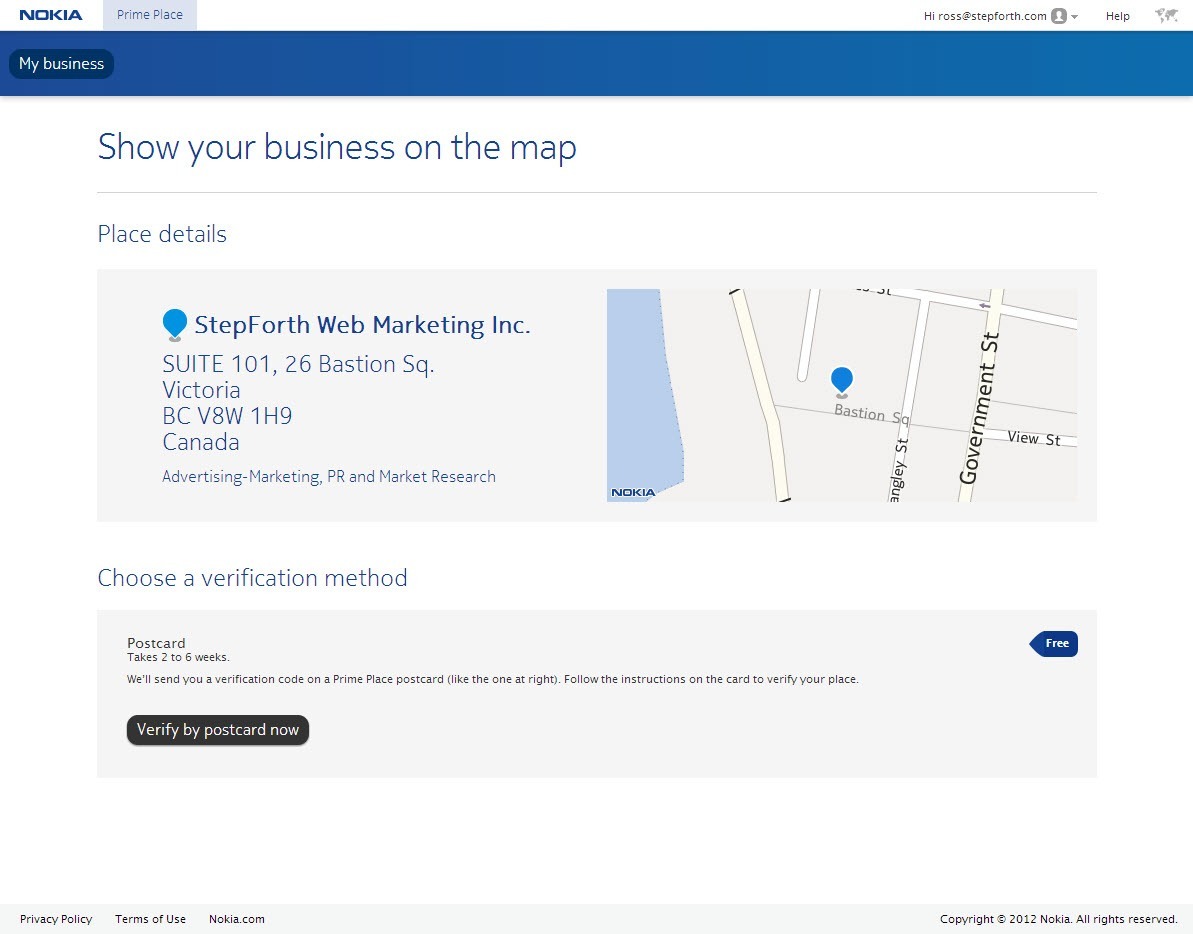
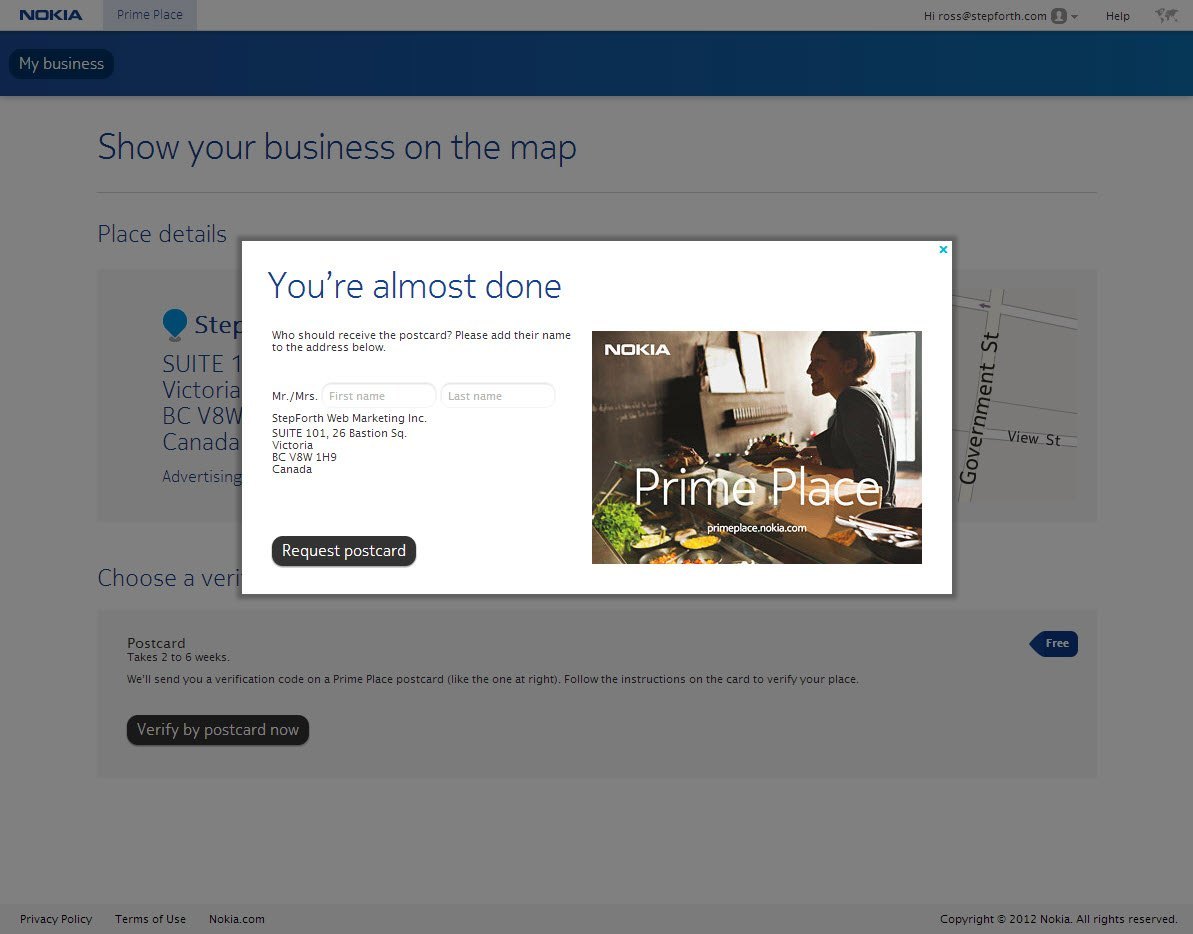
Step 4: On the next page “Show your business on the map” you will want to ensure your listing is correct as shown and then choose which verification process you want to use. That is, if you have a choice… I didn’t. Perhaps all Canadians will face the same thing where you are only allowed to verify by postcard which takes approximately 3 weeks to receive. The other option I know of which I haven’t seen but is offered at times is verification by credit card which, upon successful verification leads to instantaneous submission to Nokia’s system; an awesome option! If you are a Canadian and get this option offered to you please let me know.
Next you are asked to put a person’s name on the postcard so it is delivered to the person managing the account.
Step 5: Your job is now complete until you receive your address verification postcard via snail mail. This is what the latest card will look like which we just requested; note it is a different address because we just moved and we had to go through this whole process again.
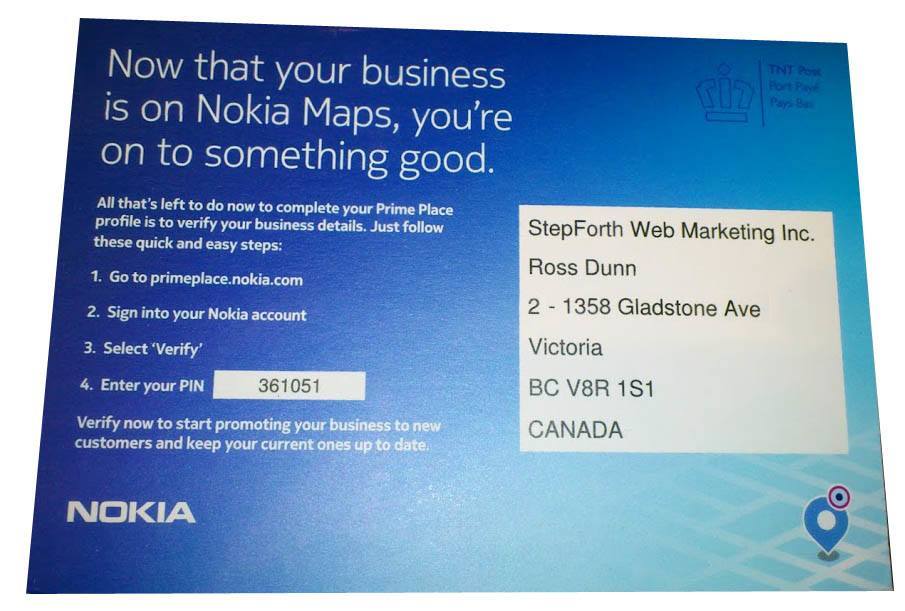
Once you have this address you need to go back and sign in to Prime Place and enter the PIN on the postcard. Once you have done that your profile is approved and will soon be live! I will include updated screenshots and such showing this stage and farther along as soon as I receive our latest card in the mail.
There is much more to come! But for now please feel free to post your comments and questions.